SEED SWAP WITH MARTHA'S VINEYARD SEED LIBRARY

by Ashley Killian

These seeds of Calycanthus floridus were collected at the North Carolina Arboretum (with permission). Photo: Keith Kurman

This cone of Sciadopitys verticillata was collected at the perfect time. Cone-bearing plants are called Gymnosperm which means 'naked seed'. So when the seed is mature the cone opens and the seed just falls out. Here the cone was collected before it lost its 'payload'. Photo: Keith Kurman

January 2020, Vineyard Gardens attended the Martha’s Vineyard Seed Library’s seed talk at the MARTHA’S VINEYARD Agricultural Hall in West Tisbury.

We always take an opportunity to learn and play an active role in our community. The MV seed library is a resource for native seed. Island residents are welcome to collect seed and contribute to the library. It would be great to see native wild flower seed, perennial seed, and woody plant seed contributions. It is always recommended that when you collect seed you should label where you found the seed, when you found the seed, and any other information about the seed. Keep your seed somewhere that is cool and dry. If you did not get a chance to collect seed last fall, you may check out seed from the library as well. It was interesting to see what different seed strains look like. I discovered Garlic seed, Poppy seed, Hypericum seed, Asclepias seed, Turnip seed, and many others in the seed library last year.

Seed stratification on collected marigold seeds demonstrated by MV Seed Library. Photo: Ashley Killian

THIS YEARS Annual Seed Swap is Saturday March 6, 2021

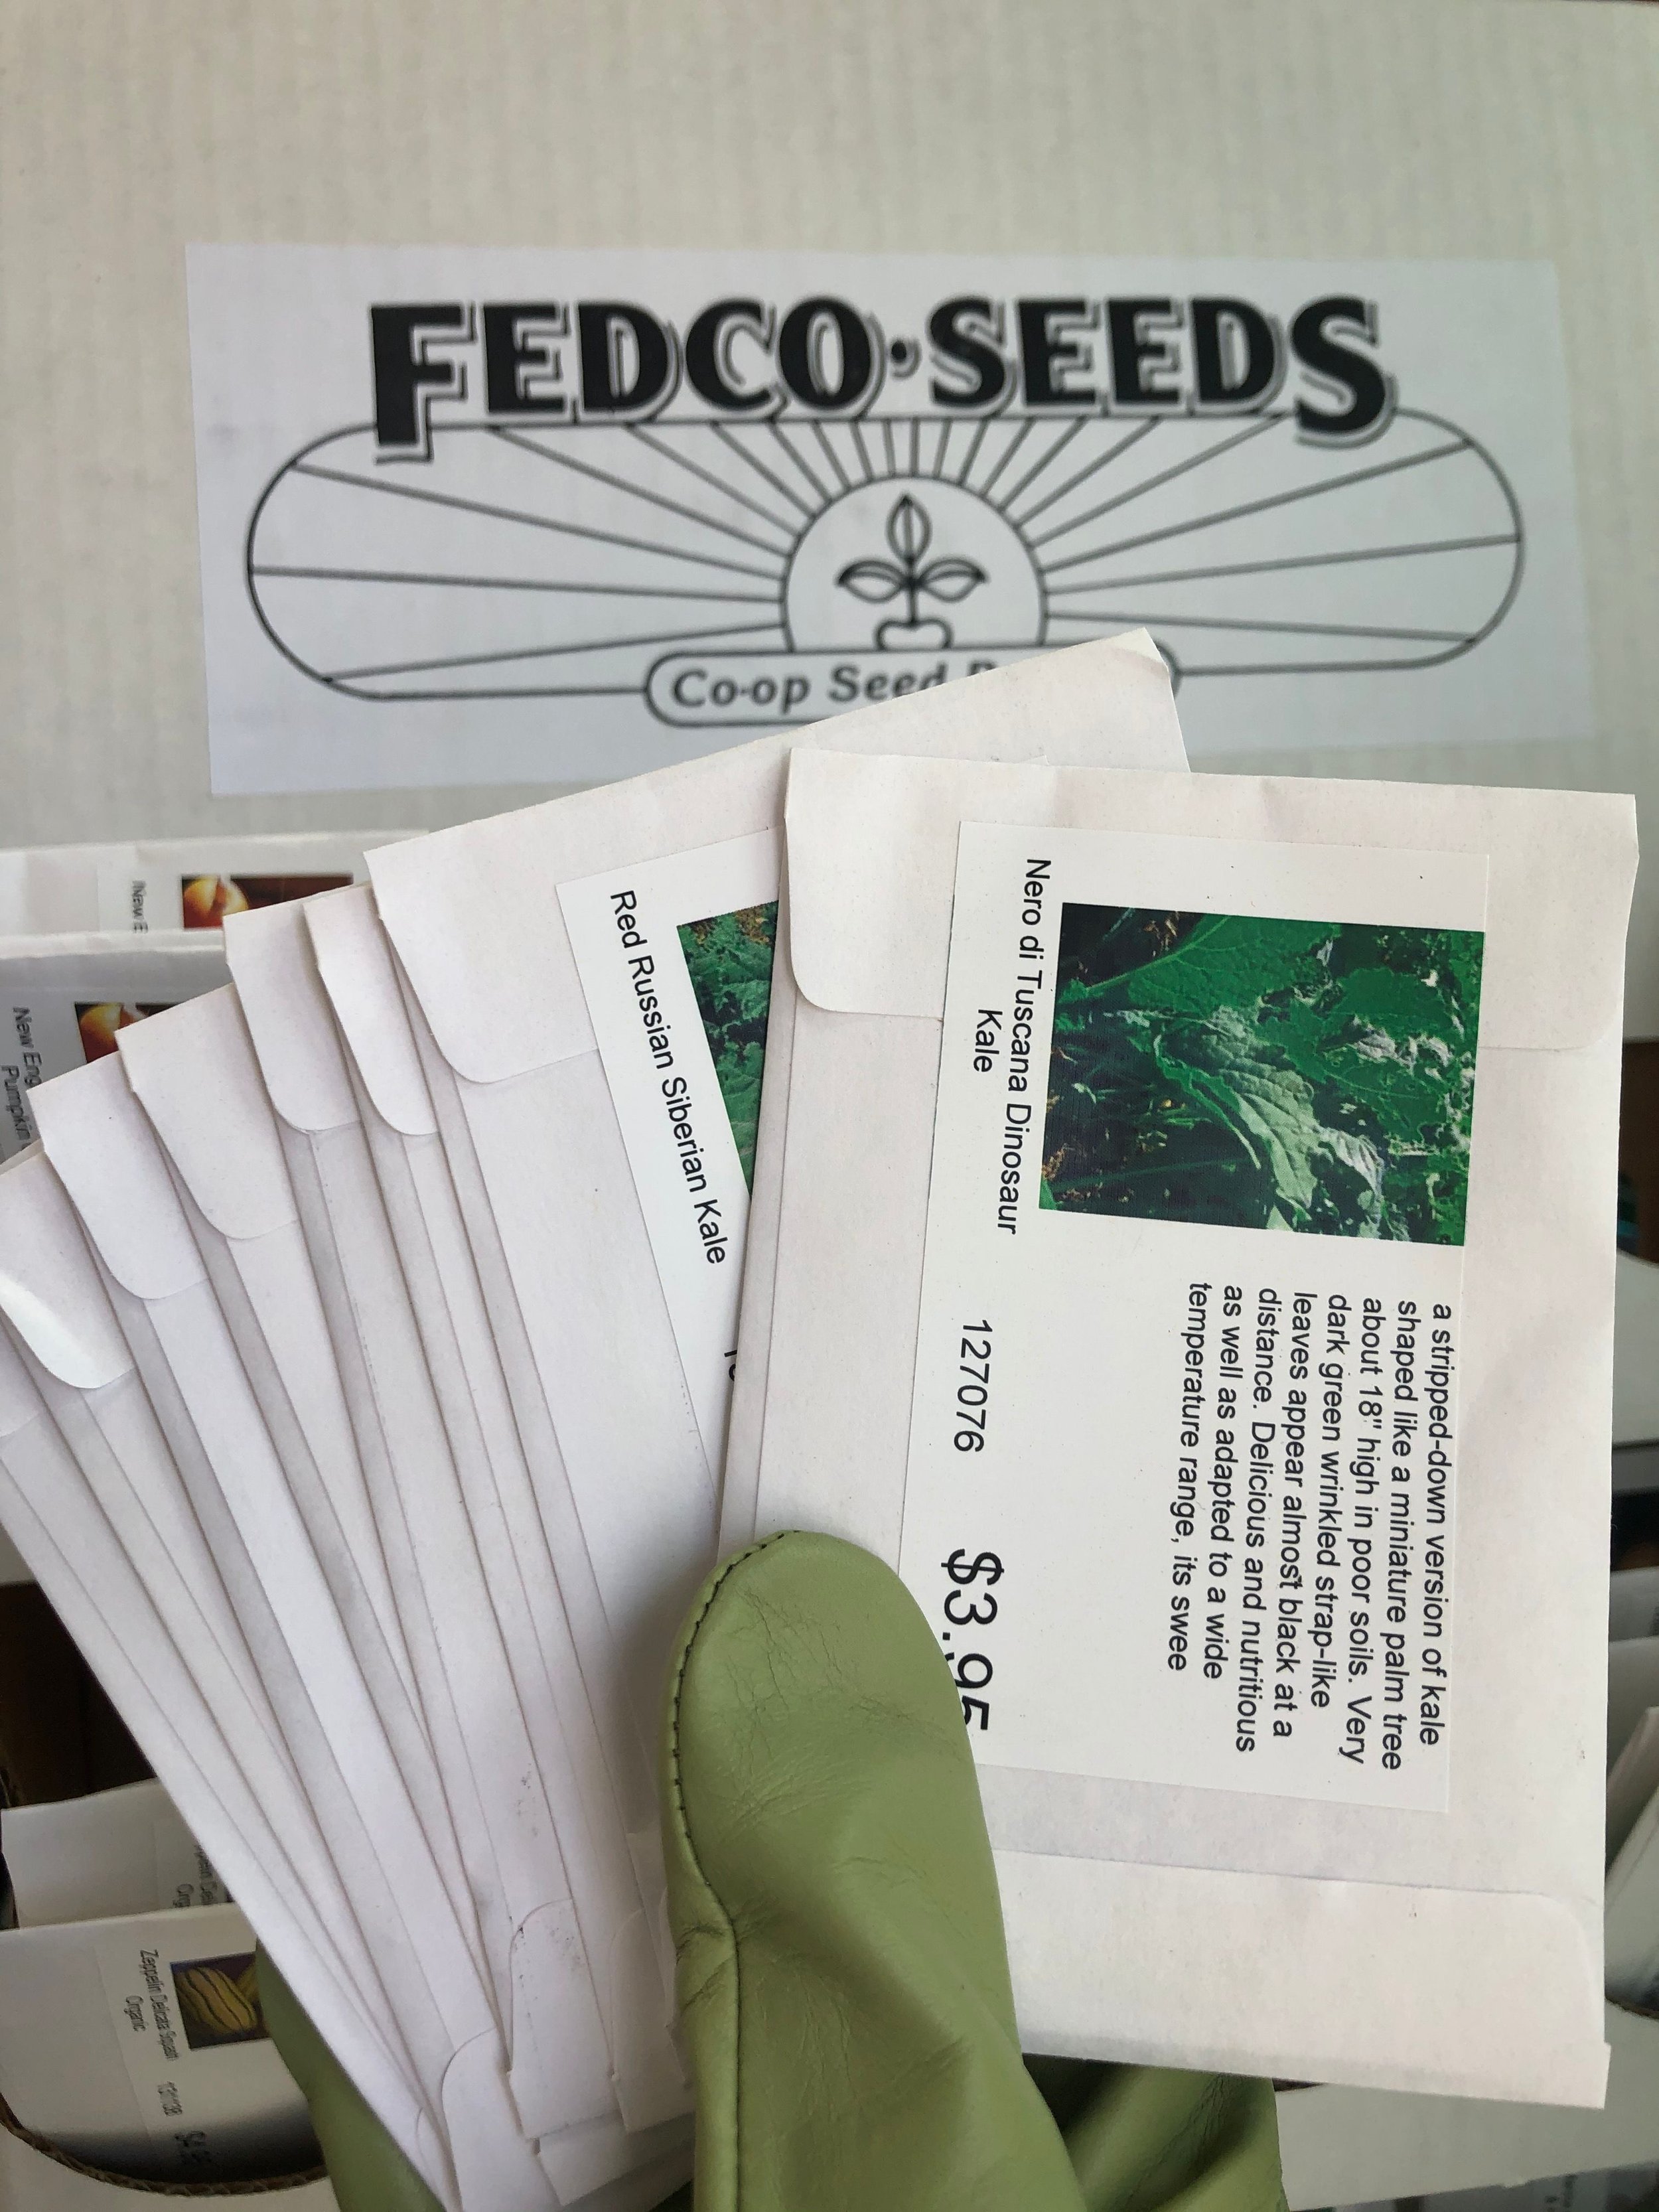
At the seed talk they demonstrated a stratification process on marigold seed that was found after it had experienced a hard frost. Although the seeds did not have as high of a germination percentage as seed that would have been collected in the fall, some seed did sprout! The annual Seed Swap is set for this Saturday March 6th from 10am-12pm on the West Tisbury Library Porch. I am excited to see what seed has been collected on island since I attended last year. I feel lucky to have such a supportive community at my fingertips. Gardening with fedco or botanical interest seed is fun but it’s also really cool to experience the seed library and to check out seed that was grown locally on our beautiful island!

The Martha’s Vineyard seed library. The library is labeled with stickers so we know the difficulty of saving the seed strain. You can check seed into the library and check seed out. Photo: Ashley Killian

The perfect example of how to fill out your collected seed card. More Information is better than less. Photo: Ashley Killian

Organization and labeling is an important step in the process. Keeping track of dates along the way will follow the new plants all the way to to being planted out, and beyond. Photo: Keith Kurman

Here you see Magnolia grandiflora seeds nestled into their peat/pearlite medium, sealed in a ziplok bag. They will receive at least 6 weeks of cold treatment before we bring them out to sow. Photo: Keith Kurman

Seed talk with Vineyard Gardens

When starting plants from seed you must mimic nature’s perfect conditions. Seeds are alive, just not actively growing. They are in a state of dormancy until they can take in air, water and nutrients. Dormancy is a delayed period before sprouting. A chemical reaction within the seed, breaks this period and can be triggered by temperature and light. Germination begins a pants life cycle and without perfect conditions your seed will not grow!

Right plant, right place is a method used by gardeners to get the most out of their property. Gardening can be flexible, the more you learn, the easier it is to work gardening into our everyday schedule. We’ve learned that plants have a unique set of requirements individually and we respect that. These requirements start at the very beginning of their life. Some seeds need a series of freeze and thaw cycles to break dormancy. We could plant them in the fall or we could speed that process up and simulate our natural weather conditions. This act is known as practicing seed stratification. Every seed can be different and might need a different amount of time or method to reach germination. For example, the Purple Top Verbena perennial on the Fedco seed website that recommends a 3-5 week stratification process in order to germinate.

Stratification

If you have seed that you can try experimenting with, then start by dividing it into separate bags. If weather conditions are in your favor put one bag of seeds outside in a mixture of moist soil and peat. Let these seeds experience a freeze and thaw cycle outside. A mix we have had success with is half milled peat moss and half pearlight that is slightly dampened. With the other bag of seeds, slightly dampen some paper towel and place your seed in the moist paper towel. Put that paper towel inside the bag and put it in the back of your fridge. Keep a close eye on this seed. Often seed stratification can lead to fungus and mold because of the wet conditions. If you start to experience this, get a fungicide and start with a new piece of damp paper towel. Some native seed can have a dormancy for up to 2 years, and some seeds have a hard seed coat. Hard seed coats are broken down by the wet conditions of a freeze and thaw cycle. Another way a hard seed coat is broken down naturally is by birds or other wildlife eating and processing the seed. We can simulate natures conditions with the process of stratification. Stratification breaks down the seed coat to allow air and water to get in and allow the seed to grow out through the seed coat to take in light and grow into a plant.

This group of woody plant seeds were collected from various locations in the Fall of '19, cleaned, properly labeled and stored cool and dry wrapped in newspaper. Our medium for stratification is 1/2&1/2 milled peat-moss and pearlite just slightly dampened. Photo: Keith Kurman

Here at Vineyard Gardens we try to offer many plants that are relatively rare from commercial growers. It can take many years to bring them to saleable size but there's no time like the present to start! Here is the charming Stewartia rostrata. Photo: Keith Kurman

Scarification

To scarify a seed you can take a sharp knife and nick the outside shell, then by soaking the seed in room temperature water over night, you can help soften the seed shell and allow light to stimulate growth. Depending on the seed strain, scarification could be enough to plant the seed after soaking. For other seed strains, you may need to process seed stratification, as well, to break the seeds natural dormancy before planting. Often seed is carried over year to year. Germination rates decline each year that seed is stored. Vineyard Gardens always starts left over seed before we start new seed because of this. If your left over seed did not germinate last year it may mean you should try practicing seed stratification or scarification to promote germination rates. Practicing these methods before planting native collected seed can produce better germination results, saving you time and money.

The seeds of some plants can be as showy and ornamental as their flowers. The flowers of this Clematis 'Guernsey Cream' are really beautiful but so are its seeds. Photo: Keith Kurman

Seed collected is stored in bags and organized alphabetically. Photo: Ashley Killian


Potting-up Bulbs Lifted from the Gardens

At Vineyard Gardens nursery, we are in the process of restoring and replanting the display beds on State Road. In the unfolding we’ve had to displace a lot of bulbs. Many were able to go back in the ground but there were leftovers which I decided to pot up for spring. I recalled a post by a gardening expert in England who decided to pot his bulbs deeper because in previous years he’d experienced them getting too tall and falling over. I decided to follow suit and plant deeper than I might otherwise.

Here is my process for potting our “leftover” bulbs:

1) POT AND POTTING MIXTURE. I use Happy Frog Potting Mix, one of the products available at the Vineyard Gardens Garden Center. It’s light and fluffy with good drainage and high organic content.

2) MIXED, UNKNOWN BULB VARIETIES. The bulbs I dug up are already in big clumps so they will have a nice, naturalized effect when they emerge in the spring. Ordinarily when potting up bulbs we use individual, packaged bulbs. These “clumped bulbs” can be handled a little differently when potted-up because the individual bulbs will be placed tighter than they would be in the ground. Usually when we pot bulbs we only get one season out of them so we’re not concerned about spacing for years of growth and development.

3) A WHEELBARROW OF CLEAN, COARSE SAND.

4.jpg

4) ADD BROKEN CROCKERY TO THE BOTTOM OF YOUR POT. This keeps the soil and sand from escaping every time you water yet allows the water to drain out. Standing water, like in a pot with no drainage hole, will rot the bulb. Paperwhites and Hyacinths do survive in standing water but after they flower they are composted.

5) ADD AN INCH OF SAND IN THE BOTTOM.

6) ADD A NICE THICK LAYER OF POTTING SOIL WITH A SPRINKLE OF OSMOCOTE, A TIME-RELEASE FERTILIZER. We have Osmocote for sale at Vineyard Gardens Garden Center. There are a couple of different kinds, one biased for general growth (green label) and another specifically for developing flowers (pink label). We use Osmocote on practically everything we grow at the nursery. Plants burn up fertility, especially in containers. They are stressed and many nutrients are washed out in runoff due to their need for constant watering.

7) ADD ANOTHER THIN LAYER OF SAND. The whole process is a little like making Lasagna, layer upon layer. I add this layer of sand so the bulbs don’t sit directly in the wet soil. It also provides a quick, easy root run as the bulbs are developing their feeding roots over the winter.

8) ADD THE BIG CLUMP OF BULBS JUST AS THEY CAME OUT OF THE GROUND. Peel off any bulbs that got severed by the spade when they were dug out. Feather apart (divide) really big clumps and any loose little bulblets on the outside of the main clump. Nestle the clump down into the soil base. Add any random loose bulbs around the perimeter.

9) ADD ANOTHER LAYER OF POTTING SOIL UP TO THE RIDGE, A COUPLE OF INCHES FROM THE TOP OF THE POT. Scatter any other tiny loose bulb near the top, then press them in an inch or so. Add a thin layer of potting soil to finish it off.

10) GIVE THE WHOLE POT A GOOD SHAKE AND TAMP TO SETTLE EVERYTHING IN.

11) TOP IT OFF WITH SAND. Sand makes a nice even surface for new growth to come up through and acts as a mulch to prevent moisture evaporation. Bulbs need perfect drainage but adequate moisture, so sand is an important material in the process. Ordinarily at this point I would water it but we’re late in the season and I wouldn’t want for the soil to be sodden when we get another hard freeze.

12) FINISHED POT.

NOW IS THE TIME TO SOW YOUR SEEDS

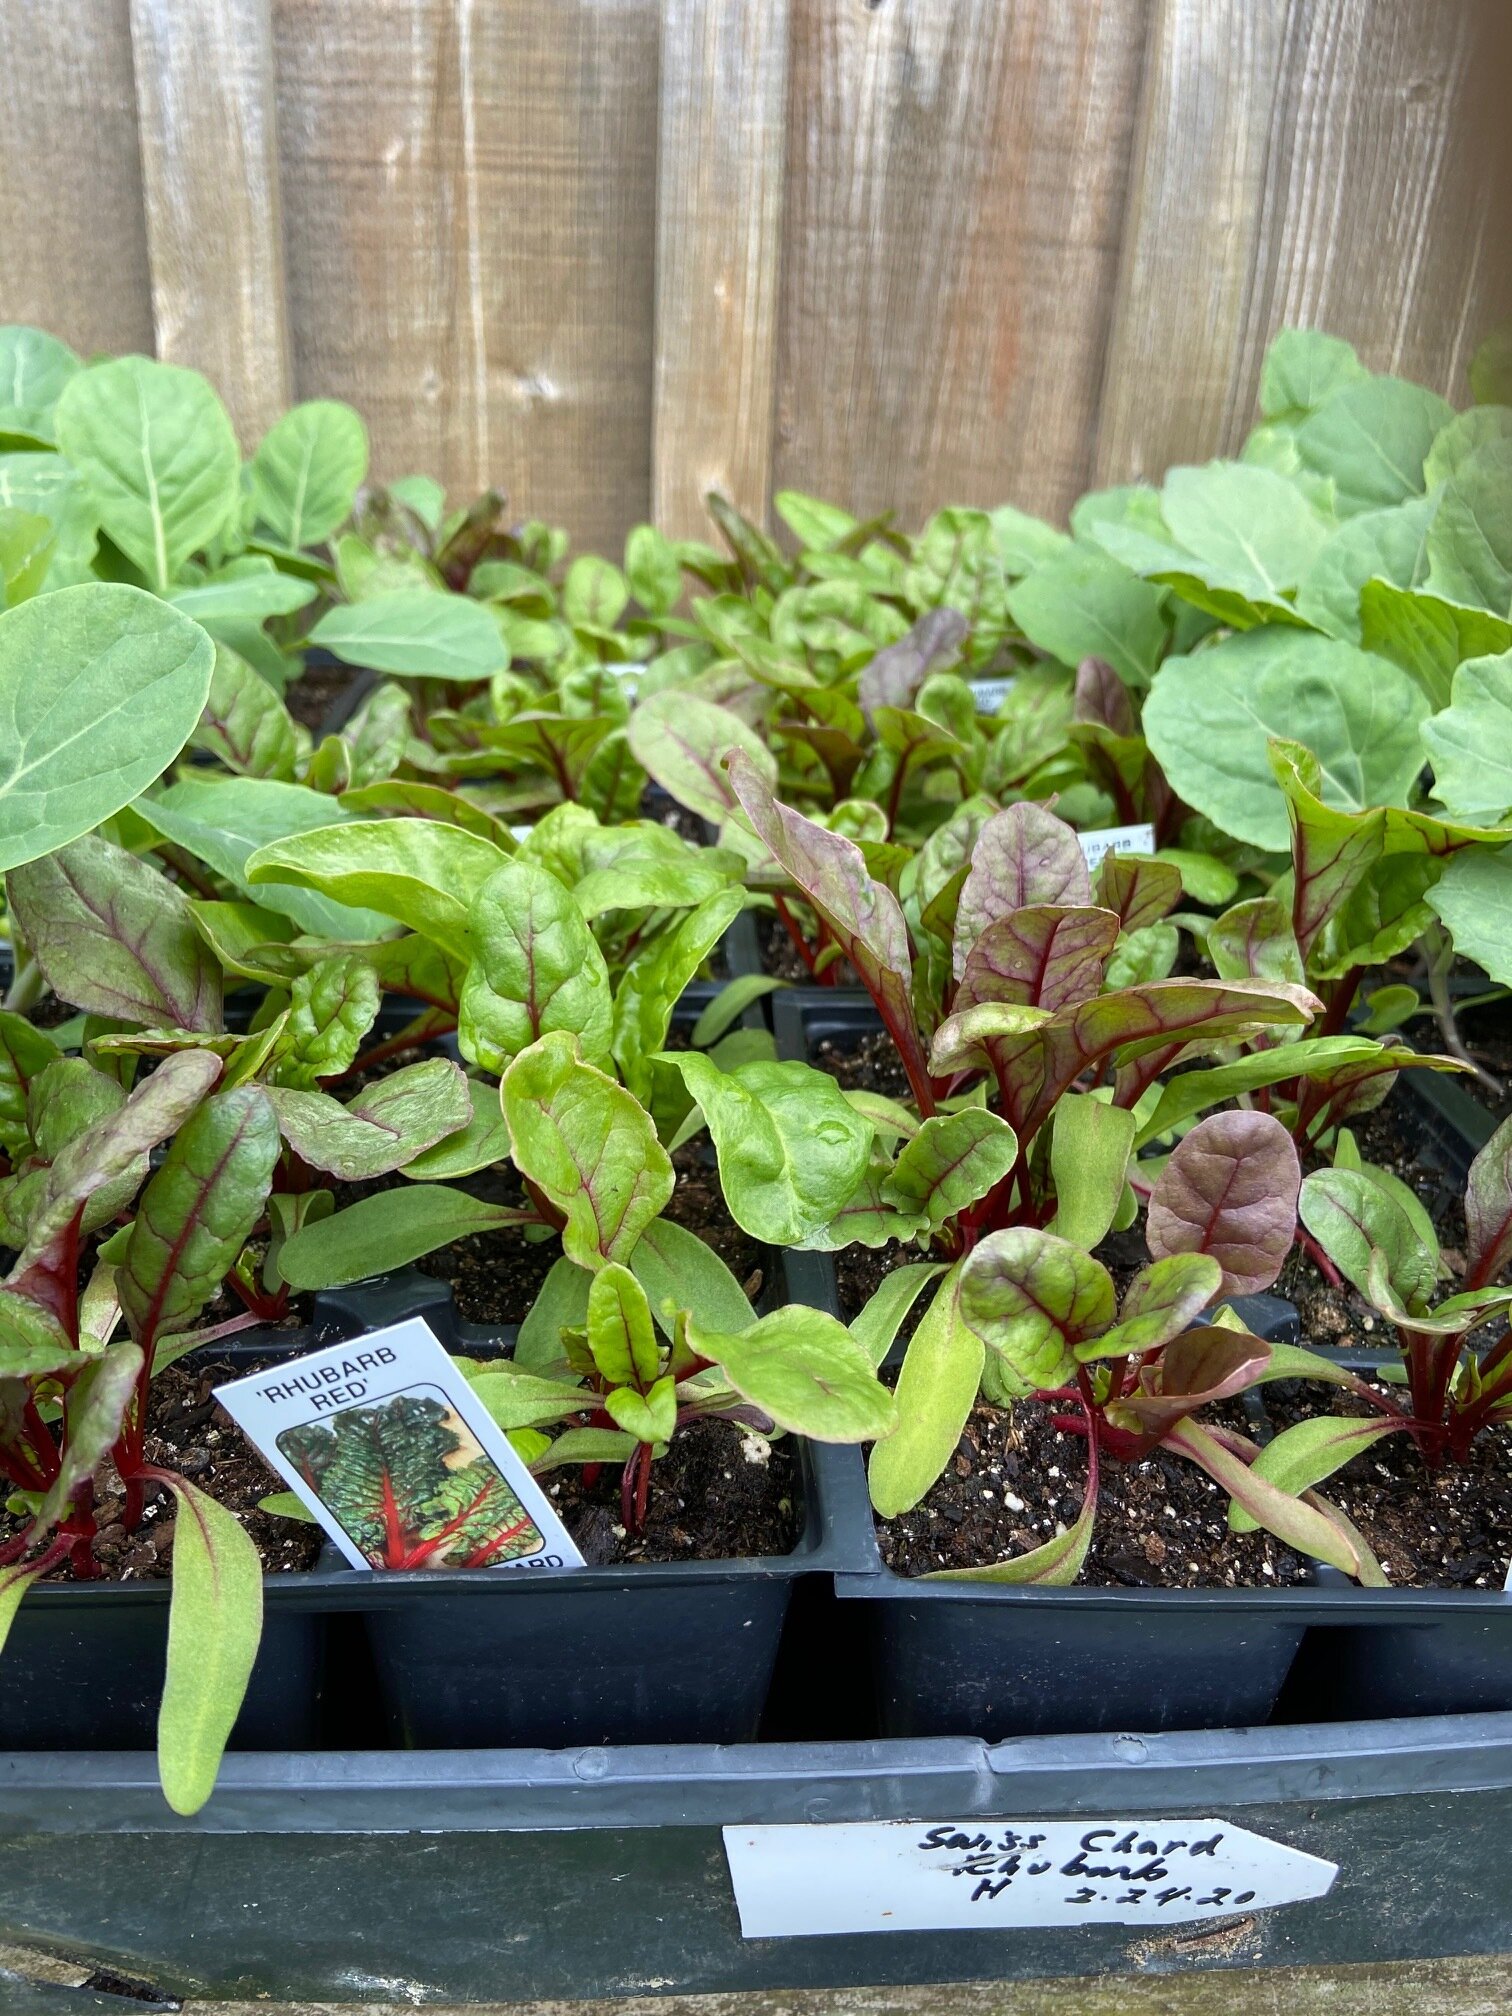
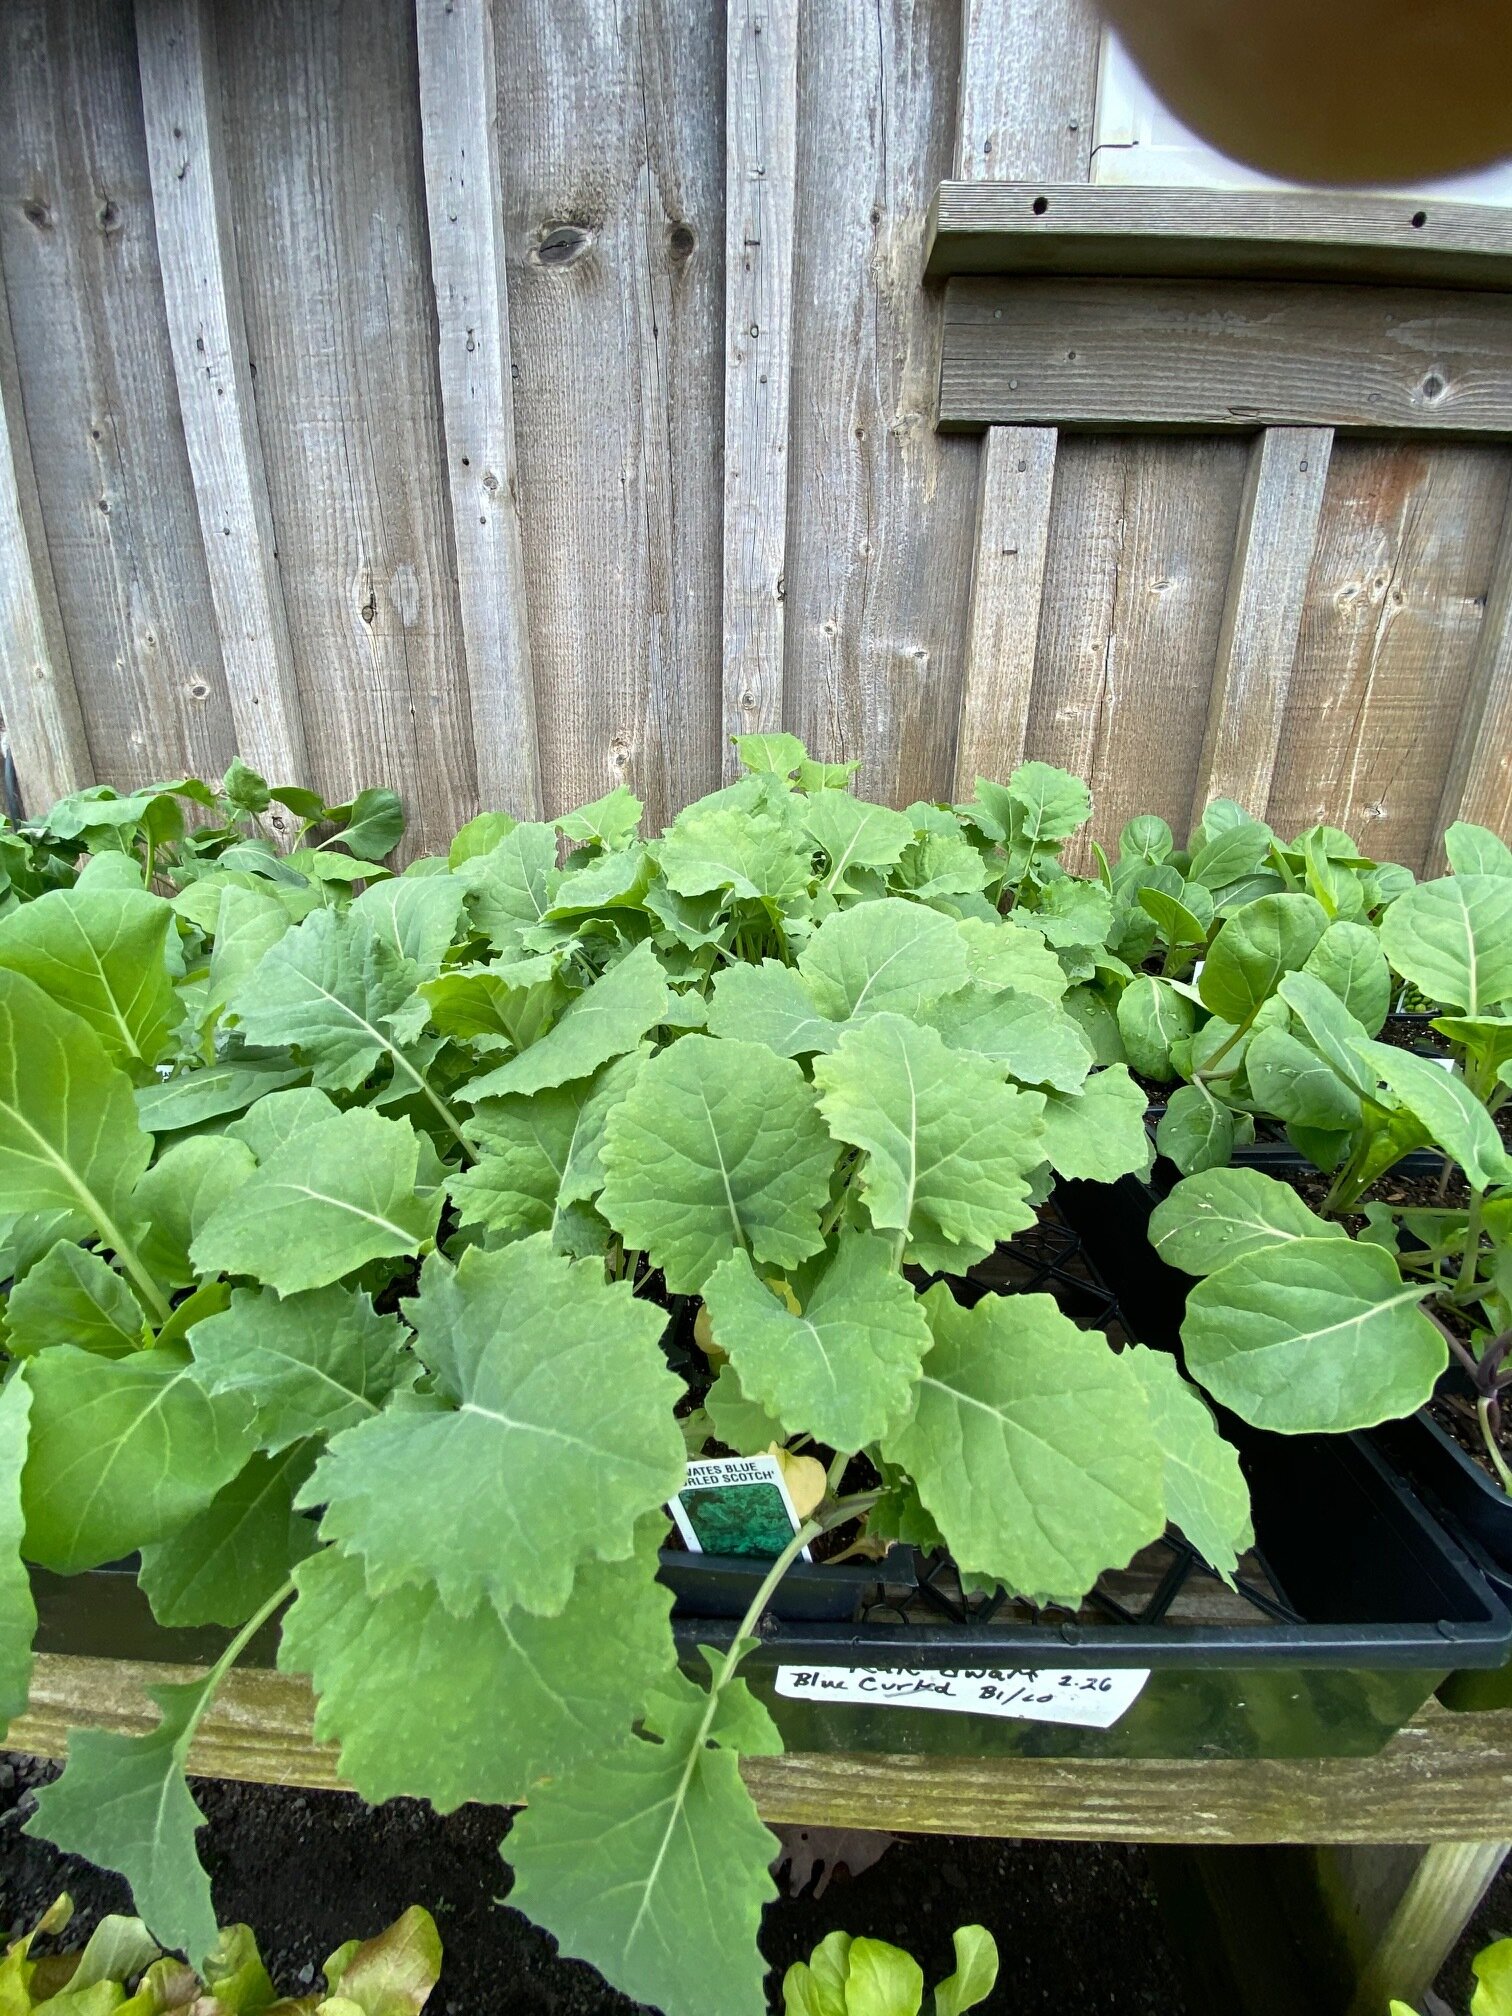
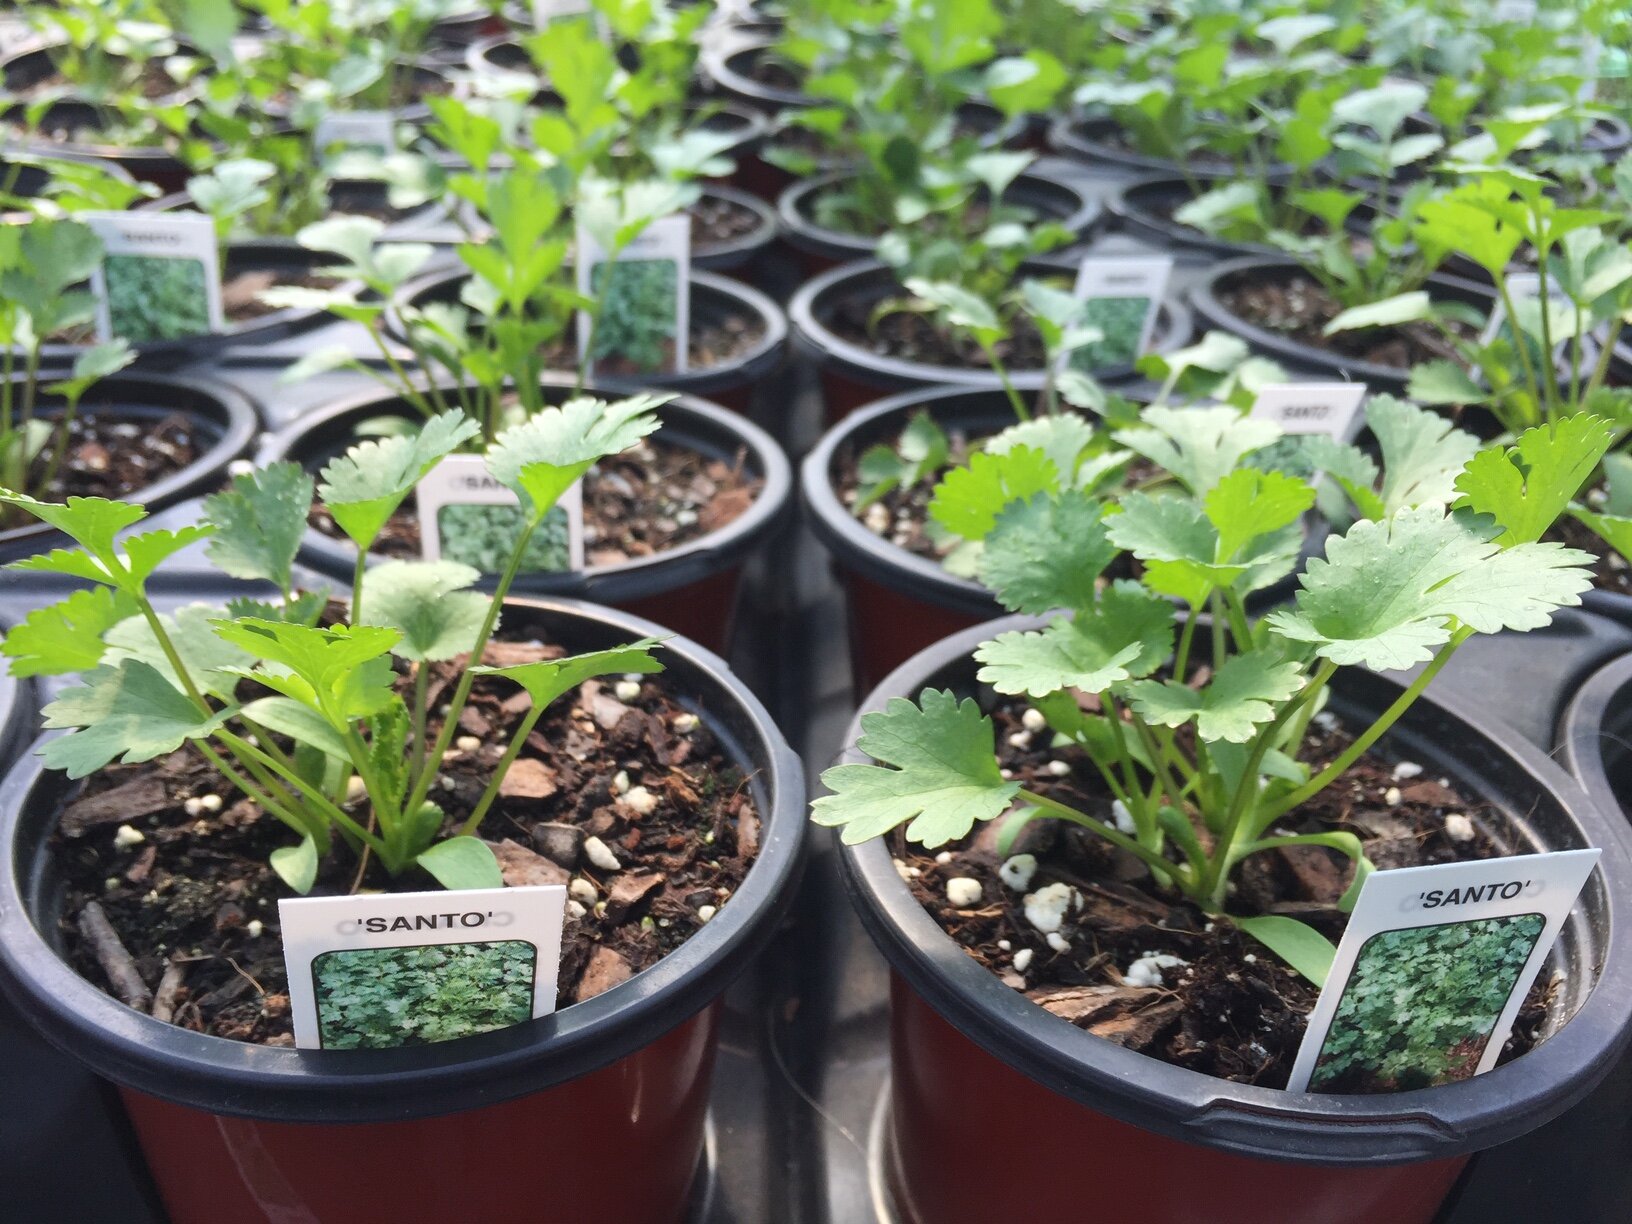
We are GIVING AWAY free legume inoculant with every pea seed packet purchase. The shelling peas and the sugar snap peas are seasonally appropriate to use right now. We will have seedlings for sale in jiffy eight packs if you are not here this early to plant. Newly seeded this week.


Also we have Fedco Wildflower mix. 10 grams for $2.99. Over 20,000 seeds in 10 g and will seed about 100 sq ft. 

VINEYARD GARDENS NURSERY

Seed Selections and Gardening Tools